Installation & first start
From the download to your first RDP session in a tab – in a few minutes and without an account.
1. Install
Download the MSI installer from the download page and run it. It installs NEO RDP Manager for all users to C:\Program Files\NeoRDPManager and adds the Start menu entry NEO RDP Manager. You don't need any extra software – RDP runs through Windows' Remote Desktop Connection, and SSH, Telnet and VNC are built in.
2. Set up the vault
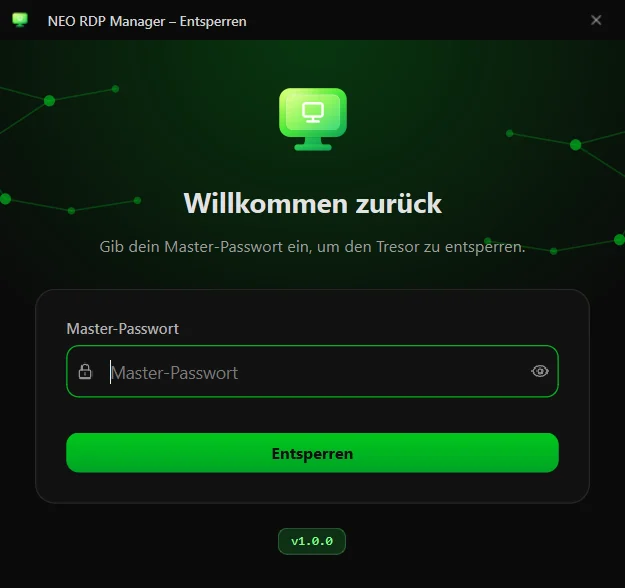
On first start you set a master password (at least 8 characters). It protects every credential you store in NEO RDP Manager. From then on the app asks for it on every start and after every lock.
3. The main window
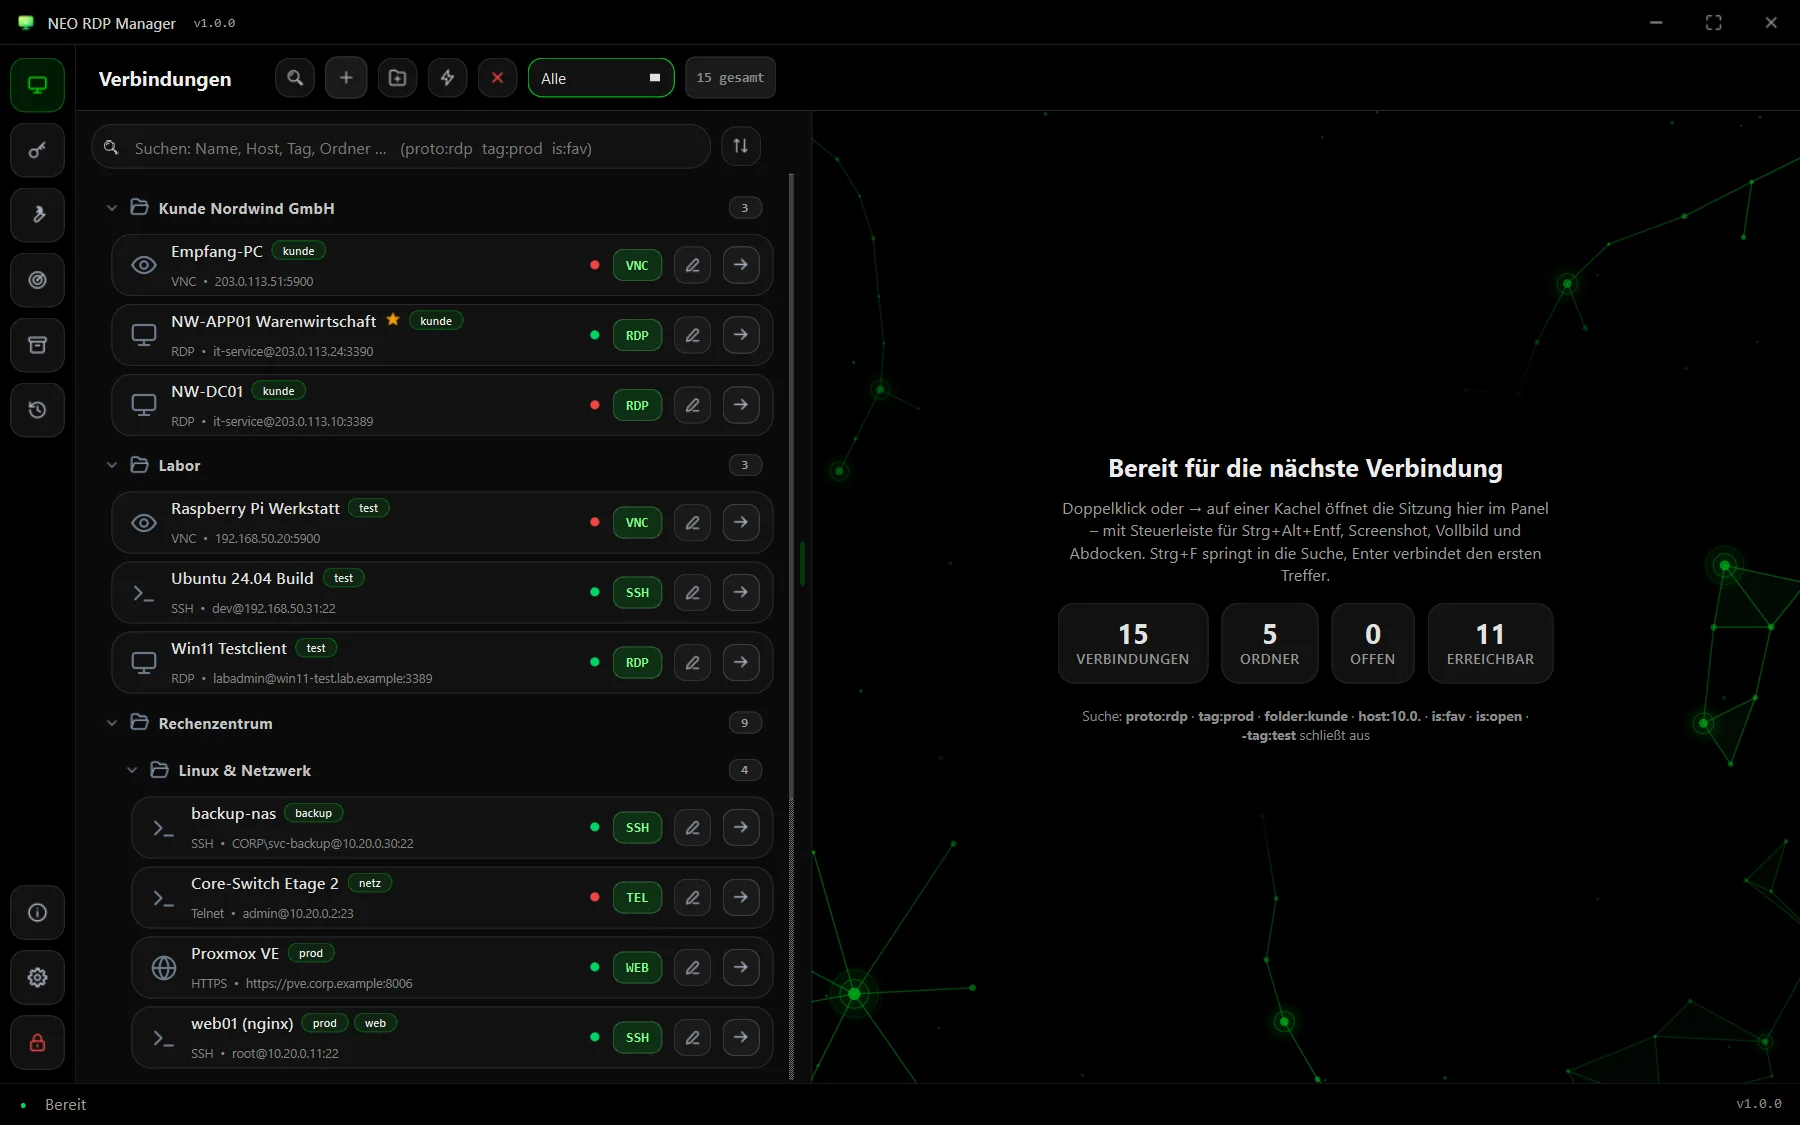
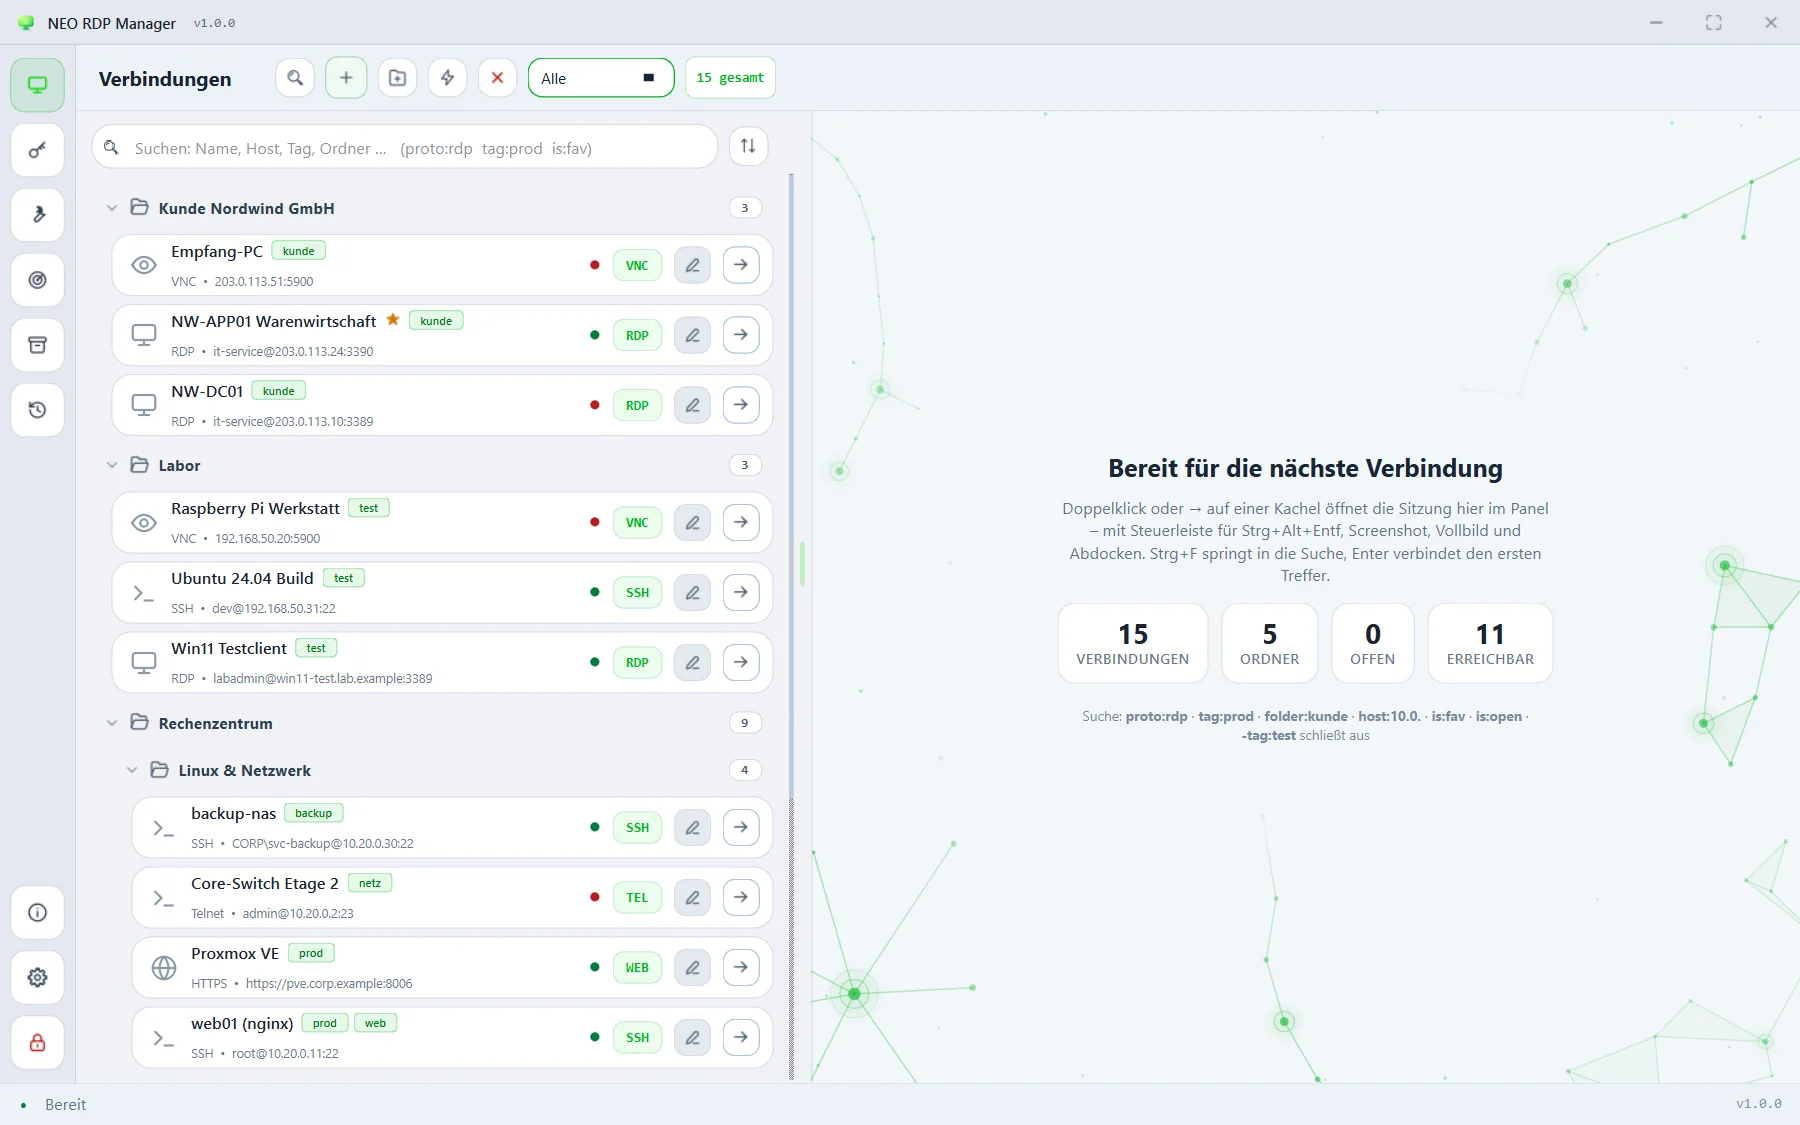
- Sidebar (far left): connections, stored credentials, external tools, port scan, import & export, session log – at the bottom about, settings and lock vault.
- Connection list: a header with search, new connection, new folder, Quick Connect and view filter; below it the folders with their tiles.
- Right-hand area: the overview with numbers when nothing is selected, a tile's details after a click, the form while editing and the session when a connection is open.
4. Create your first connection
- Click + at the top of the list or press Ctrl+N.
- Enter a name and the host / IP. The protocol is set to RDP, and the port fills in automatically (3389).
- Under sign-in (Anmeldung), choose “own credentials” (Eigene Zugangsdaten) and enter user, domain and password – or “none, ask when connecting” if you'd rather not store the password.
- Save with Save changes or Ctrl+S.
Every field is explained under Connections & folders, the RDP options under RDP sessions.
5. Connect
Double-click the tile, click the arrow → on the right of the tile or press Enter – the session opens as a tab in the right-hand area. Above the session you'll find the control bar with Ctrl+Alt+Del, scale, screenshot, reconnect, full screen and detach.
A single click first only shows the details, as in mRemoteNG. Prefer to connect right away? Change that in the settings.
Bringing connections over
Already have a collection in mRemoteNG, RDCMan, as .rdp files or in PuTTY? Under Import & export you bring it in in one go – see Switching from mRemoteNG and Import & export.
Next steps
- The interface – search with filters, views, tabs and keyboard shortcuts.
- Folders & inheritance – store credentials once on the folder.
- Settings – colour scheme, accent colour, click behaviour and auto-lock.
- Troubleshooting – when something doesn't work.